|
| C. Create a Page and Give it a Title |
|
|
Your
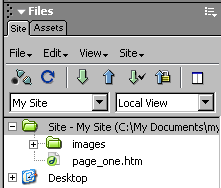
site files should look similar to: |
 Figure 1C-D |
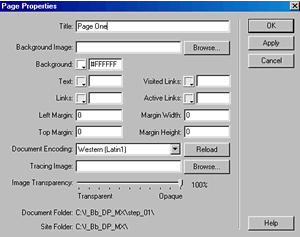
We have named the file, but we haven't given a title to the page. These are two completely separate things. To Title a Page
Note that it is in the Modify Properties Dialog box where you select the background image (we will do this in Step 4), set the background color (default is white), and select page margins. Note also you can change the color of the visited and/or active links. Here, we will accept the defaults.
|
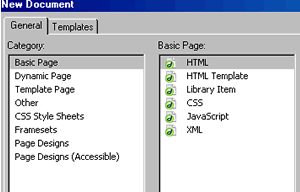
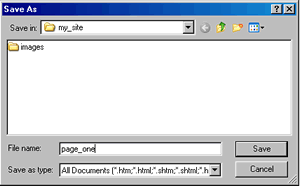
| THE BOTTOM LINE To create a new page, go to File-->New To save a page, click on File--> Save As To give a page a title, click on Modify-->Page Properties. Remember:
|
| CONGRATULATIONS! You made it through Step One Skills. You should now take a short Self-Assessment Review. Then you will be ready to start building your own Portfolio (in Case Study). |
||
Course Guide || Read
Me First || |


