Figure
4B-1

Figure
4B-2
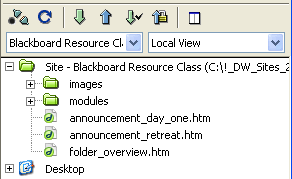
Figure 4B-3
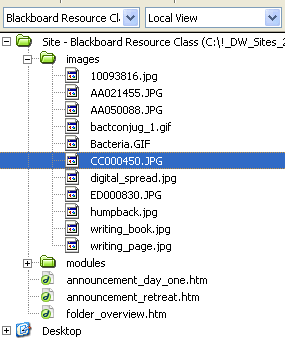
Figure 4B-4
| Inserting an Image from Outside Dreamweaver |
To insert an image from OUTSIDE your dreamweaver folders,
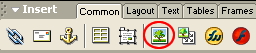
- click on the image icon on the Common tab of INSERT toolbar (Figure 4B-1)
- navigate through the "Select Image Source" Dialog box to the location of the image
- select the image and click OK
- you will see a message box warning you that the image is outside your site and giving you the option to COPY the image to a site folder ( Figure 4B-2)
- click YES
- in the "Copy File As" box, you can rename the image and/or put it in your site (preferably an images folder)
As long as the image is in your site, then it will show up appropriately when you publish your site.
If you leave the image in a folder outside your site, your Web page
| Inserting an Image from INSIDE Dreamweaver |
To insert an image that is already in your site folder, you can just drag and drop
- select the image with your mouse
- left click down and hold
- move the image to the spot on the page you want the image to appear
| Managing Images |
It is good practice to keep all your images in one folder. It makes the site cleaner and easier to use.
Figure 4B-3 shows a typical site with 3 pages in the main folder, plus two additional folders, one which contains all the images.
Figure 4B-4 shows the same site with the images folder opened (click on the plus sign to open a folder, click on the minus sign to close it)